-
New – SCR Custom Gobos LT
$3,500.00 – $7,750.00 -
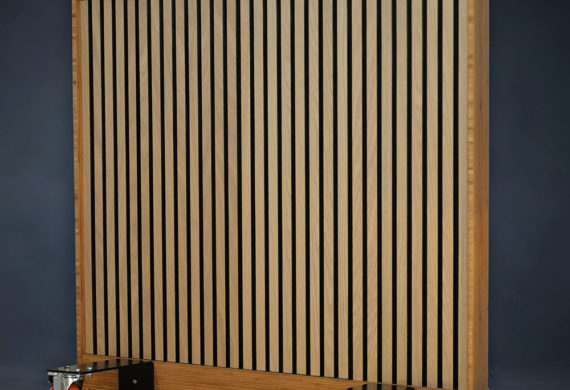
SCR Oak Trim Gobo
$675.00 -
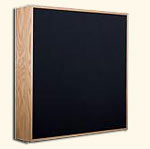
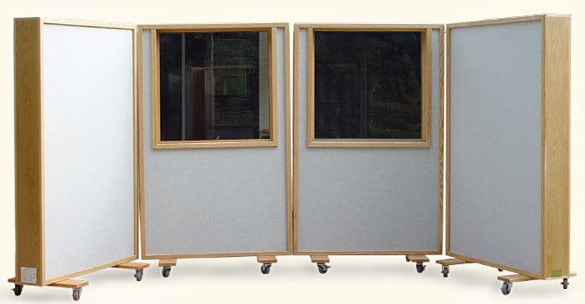
Studio Gobo
$594.99 -
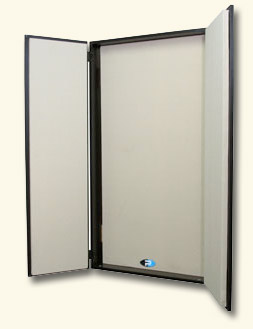
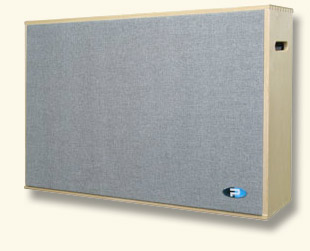
Wall Mounted Vocal Booth
$734.99
This details an effective way to add isolation with a minimum amount of space and difficulty. We strongly recommend all walls and ceiling be treated equally. Even though you may think one wall is more important than another, treating just a portion of the room will not yield a significant difference.

SPECIFICATIONS FOR WALL LAYERING
Strict adherence to these specifications will obtain the maximum sound resistant construction. It is necessary to insure the rooms are completely airtight. They must be followed and executed EXACTLY, no exception.
- Existing stud or joist cavity requires maximum allowable insulation rating.
- Use appropriate size drywall screws so that screws in channel do not touch studs.
- Start at ceiling. Complete each layer before starting the next layer.
- Hold drywall ¼” from floor. If applied to vinyl barrier, 2 inches of vinyl should overlap perimeter or lay on floor. Caulk perimeter of all drywall layers with acoustic caulk.
- Firetape all drywall layers.
- Drywall layers can be vertical and/or horizontal. Avoid alignment of seams.
- Seal electrical boxes with sound pad. Use caulk and/or expanding foam around any penetrations (i.e., outlets, air conditioning) on each layer of drywall.
- All low voltage wiring will terminate in an electrical box wrapped with sound pad, no open plates.
- In new construction, apply a continuous 1” bead of caulking or construction adhesive to floor plates (wood or metal at bottom of wall). This will insure air seal between the floor and wall.
Clink Related Links below for product information.